
Want to know how the kids from Olcott School made their map? Our intern, Neha Joseph tells us how!
Creating maps in 3 simple steps!
Step 1: Taking a few sheets of blank paper and orienting themselves using the school gate as a reference point they walked around their campus and marked out every building/structure/area that were important enough to be on their map.
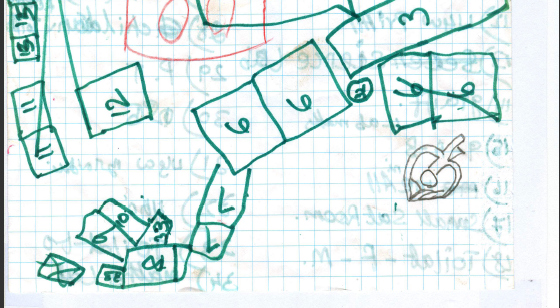 1: part of a rough map belonging to one of the student groups
The markings mainly consisted of polygons and inscribed in every polygon was a number, which corresponded to that locations description.
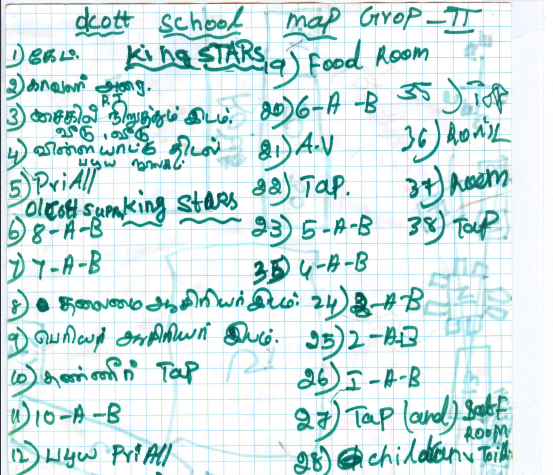 2: information about locations
For example, according to this map the number six corresponds to sections A and B of class 8.
Step 2: After finishing their survey, the four student groups reviewed the information that they collected and began to group together certain numbers, which they thought were similar and based on discussion, assigned these groups with particular symbols.
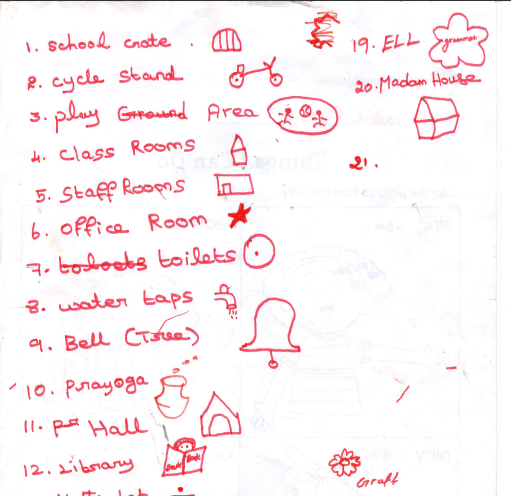 3: A ‘key’ made by the students
For instance class 8, class 9, class 10 etc were all grouped under classrooms with a particular symbol used to describe it.
Interestingly, as the process of making the key was deliberative, there was an intense debate on what symbols would best represent certain locations, which resulted in a great discussion amongst the students.
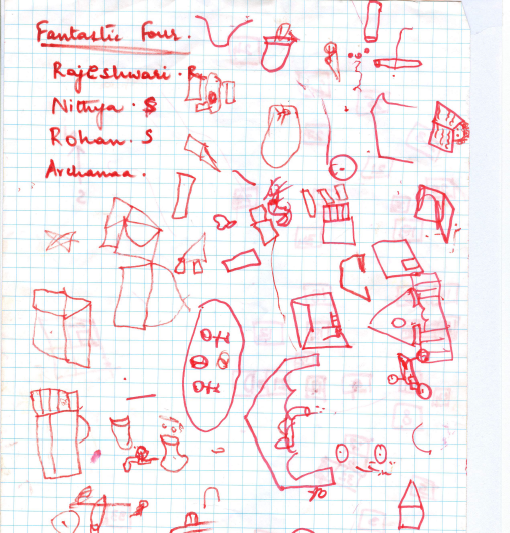 4: students use paper to figure out how their symbols should look
Step 3: Finally, with chart paper, felt tip pens, rulers, erasers, pencils and more the children created their final map!

Do you think this map is a ‘legitimate’ representation of their school? What are the uses of such a map? More insight on this along with information about the children involved in this project coming soon!
- Neha Joseph